"TinyPNG – JPEG, PNG & WebP image compression" is the official Tinify WordPress plugin. You can download the plugin at https://wordpress.org/plugins/tiny-compress-images/
This is a guide to help you get started with the TinyPNG plugin.
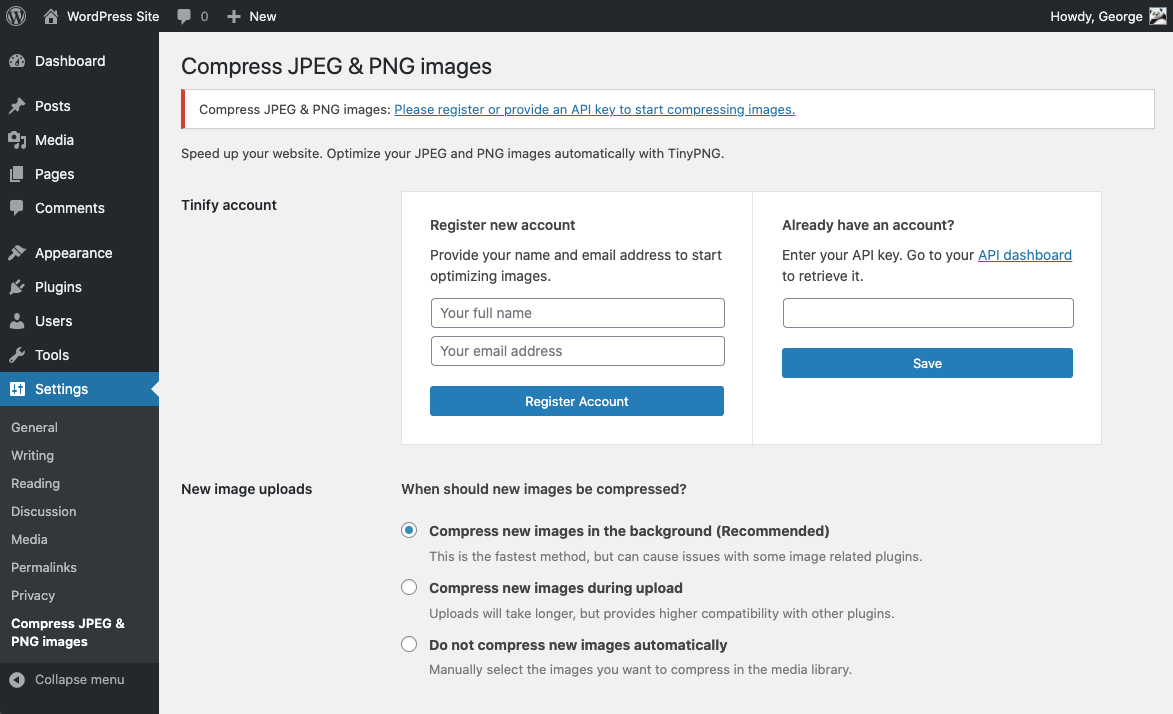
1. Install the plugin and create an account
Start by installing the TinyPNG plugin on your WordPress site. Once installed, follow the instructions to create a free Tinify account.
2: Choose when to compress new images
You have the option to decide how the plugin should handle newly uploaded images. There are three available options to choose from:
Option 1: Compress new images in the background (recommended)
This is the fastest and most convenient option. Images are automatically compressed in the background after upload. However, it may not be compatible with all image-related plugins.
Option 2: Compress new images during upload
This method compresses images as they are uploaded. It takes a bit longer but is more compatible with other plugins.
Option 3: Do not compress new images automatically
If you prefer, you can choose not to compress new uploads automatically. In this case, you can manually select the images you want to compress in the Media Library.
Please note: It's recommended to temporarily select Option 3 when doing development work on your website. Once you've chosen your preferred option, be sure to save your changes.
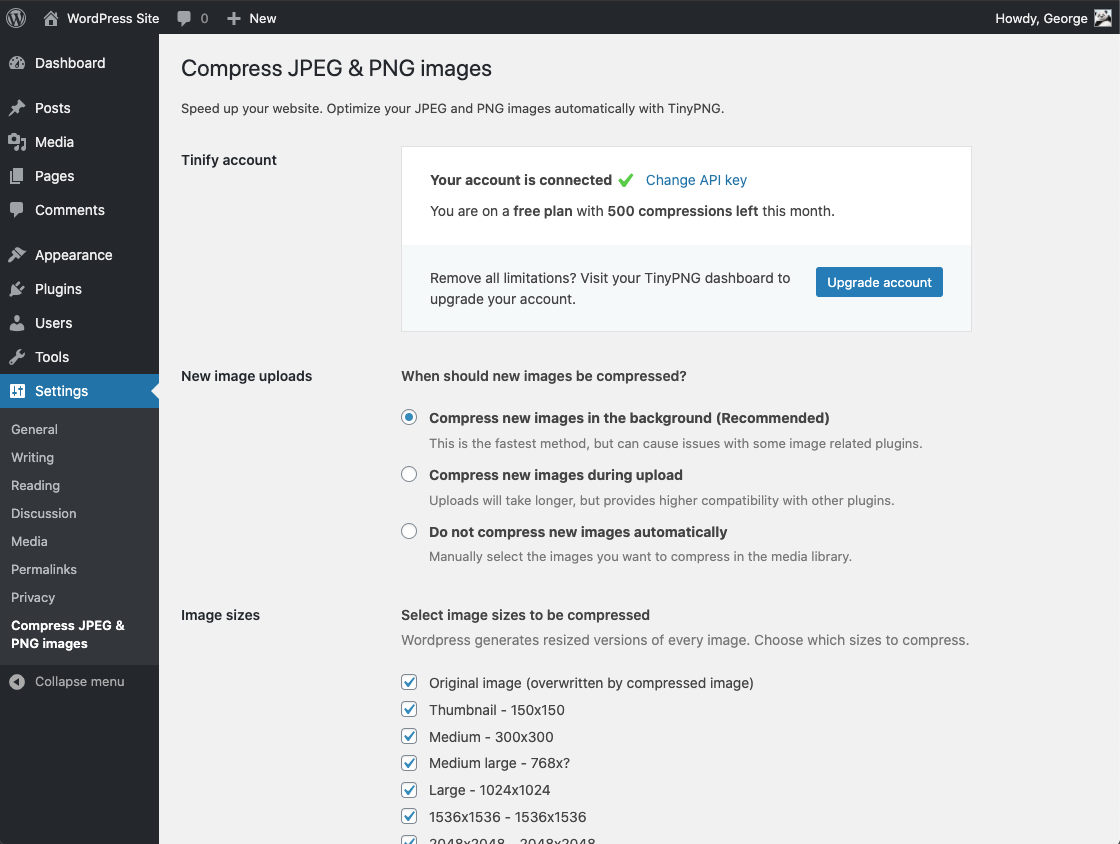
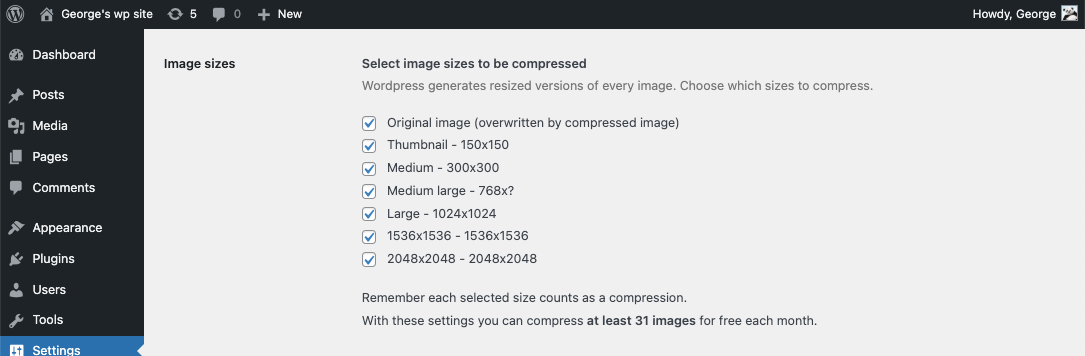
3. Select image sizes to be compressed
When you upload an image to your WordPress website, WordPress automatically generates different thumbnail versions of it, which can be seen in the Settings > Media section. The Compress JPEG & PNG Images plugin will compress each of these different sizes of images, which means that if you have 100 images and 5 different sizes, the plugin will perform 500 compressions.
To manage which image sizes get generated and compressed by the plugin, uncheck any image sizes that you do not wish to use or compress with the plugin. This allows you to customize the plugin according to your preferences and optimize only the images that are important for your website.
4. Convert files to other formats
The plugin also allows you to convert your images to next-generation formats like AVIF and WebP. When you have the conversion feature on, the plugin will compress the original image (JPG/PNG) and create a compressed AVIF/WebP image. So, you'll end up with 2 images in total.
Note: Each converted file counts as one extra compression per image size.
You have three conversion options:
Option 1: Convert to smallest file type (recommended)
The plugin converts to both AVIF and WebP and uses the smaller format.Option 2: Convert to WebP
Only WebP versions will be generated.Option 3: Convert to AVIF
Only AVIF versions will be generated.
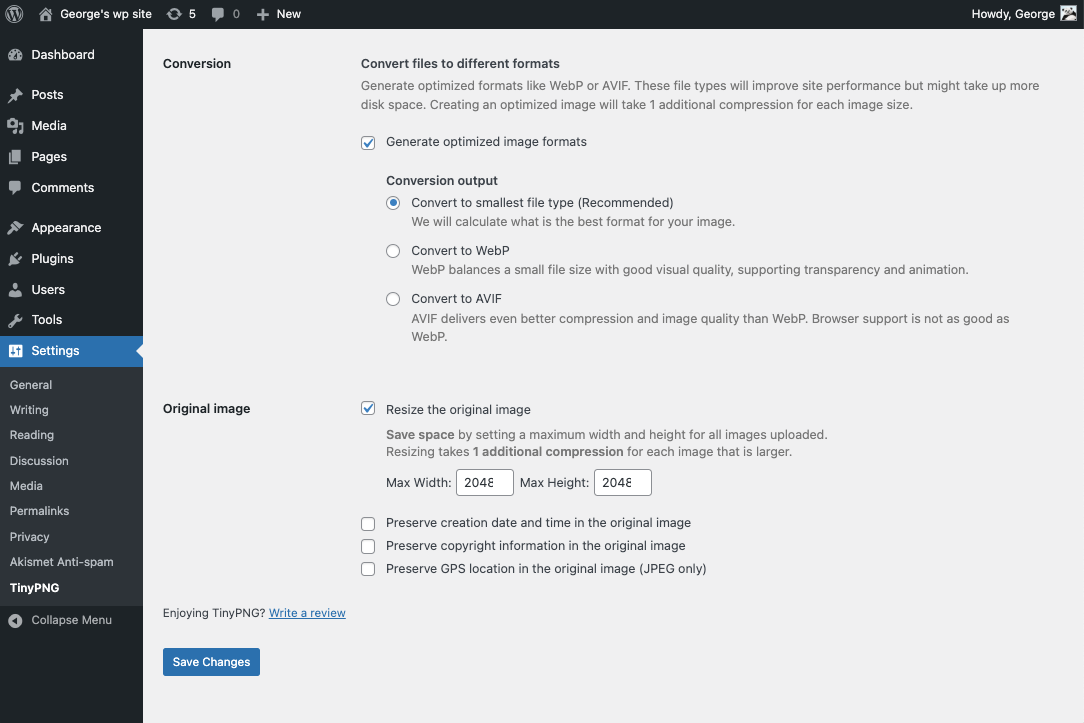
5. Resizing of original images
In addition to image compression, the plugin also provides the ability to resize your original images, which can save storage space.
Resizing your images involves setting a maximum width and height for all images uploaded to your website. This process takes one additional compression credit for each image that is larger than the specified dimensions.
6. Preserving image metadata
By default, the plugin strips all metadata from images during compression. If you'd like to retain specific metadata, such as copyright or camera information, you can select which to keep in the settings.
7. Save settings
Once you've configured the plugin to your liking, make sure to save your changes. Click the Save Changes button at the bottom of the Settings page to apply everything.
8. Compress existing images
In Step 2, we explained how the plugin automatically compresses new images when they are uploaded. However, it's important to note that existing images on your website are not optimized automatically.
The plugin provides several easy ways to compress your existing images:
Using the Bulk Optimization tool
Bulk action in Media Library
Manually compress images in the Media Library
You can find a step-by-step guide at https://help.tinify.com/help/how-to-compress-existing-images-with-plugin
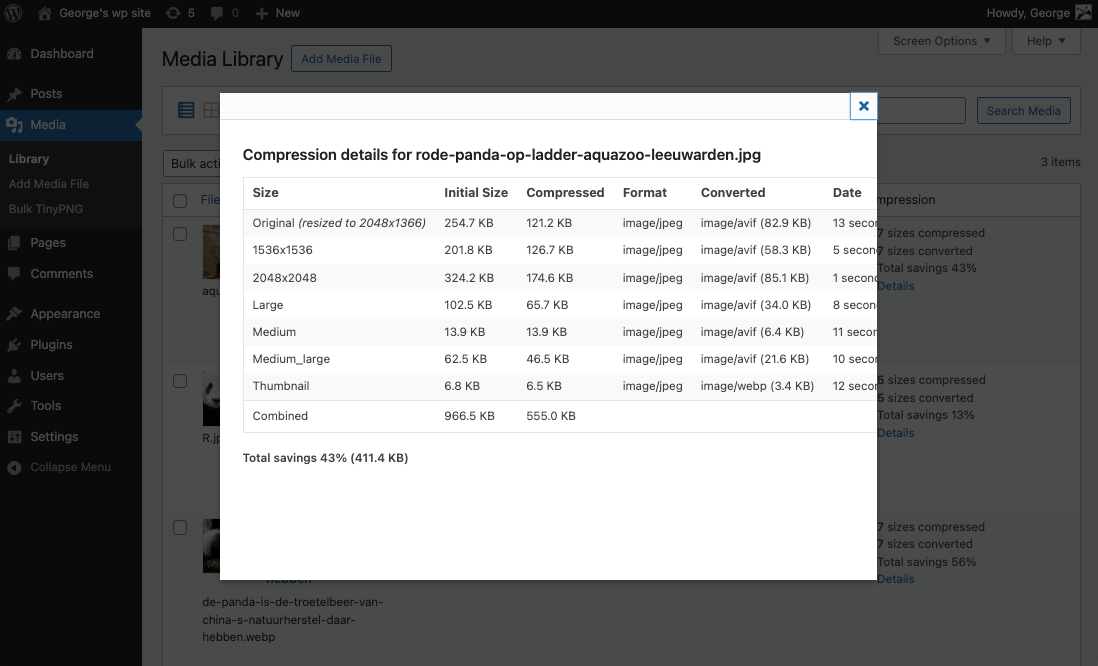
9. View statistics
If you want to see how much the plugin has successfully compressed or converted your images, go to your Media Library in list view. On the right side, you'll see compression details for each image.
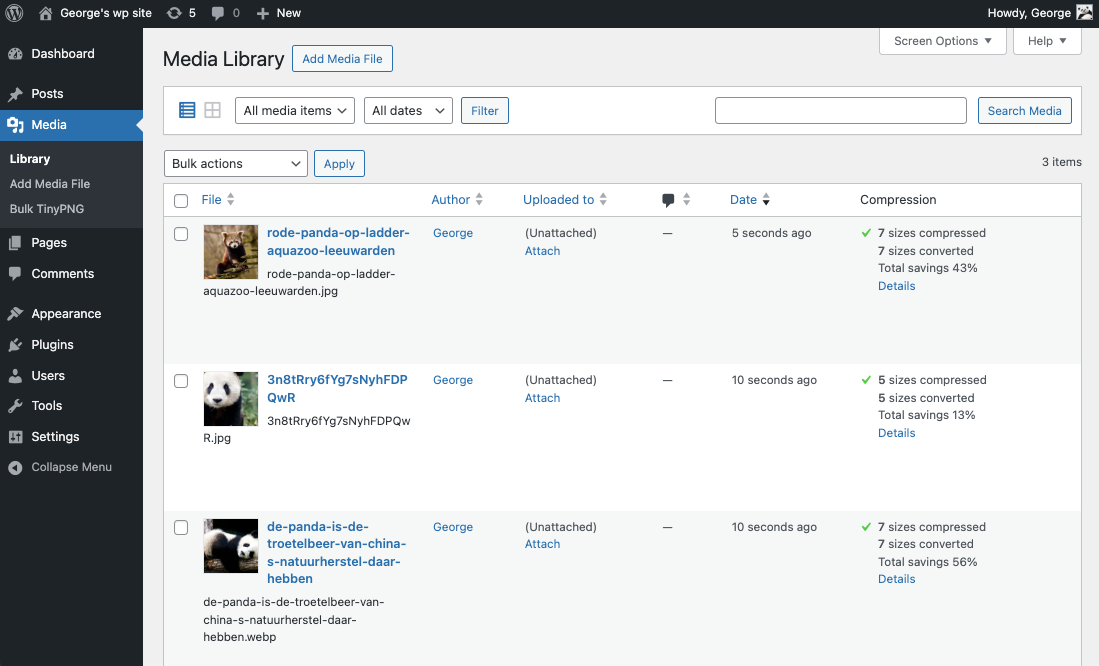
By clicking on "Details," you'll see a complete summary of the results.